Ditch the Needle: Join Pieces with Single Crochet
We’ve all been there: you’ve spent hours crocheting the perfect parts for your plushie, only to dread the final assembly. While sewing has its place, there is a sturdier, cleaner way to attach layers when your design allows for it.
By using a single crochet join, you can fuse two pieces together into one structural masterpiece. “Crocheting it on" ensures that your amigurumi can handle all the hugs in the world without a single stitch coming loose.
Why Ditch the Tapestry Needle?
Sewing amigurumi pieces together can sometimes result in "gaps" or a slightly floppy finish. Crocheting the pieces together with a single crochet (SC) creates a defined, reinforced edge. It also saves you from the "did I tie that knot tight enough?" anxiety that comes with traditional embroidery.
Materials Needed
Yarn of your choice
Corresponding crochet hook
Pattern that includes sewing one piece inside another
Learn more on the Tools & Materials page →
Join one piece inside another
Prep Your Pieces:
Before you begin, ensure the edge of your top/inner piece has the same stitch count as the area on the base piece where it will be attached. If the counts are off, your work will pull or pucker.
The piece that will go inside should be finished with an invisible fasten off with the finishing tail weaved in.
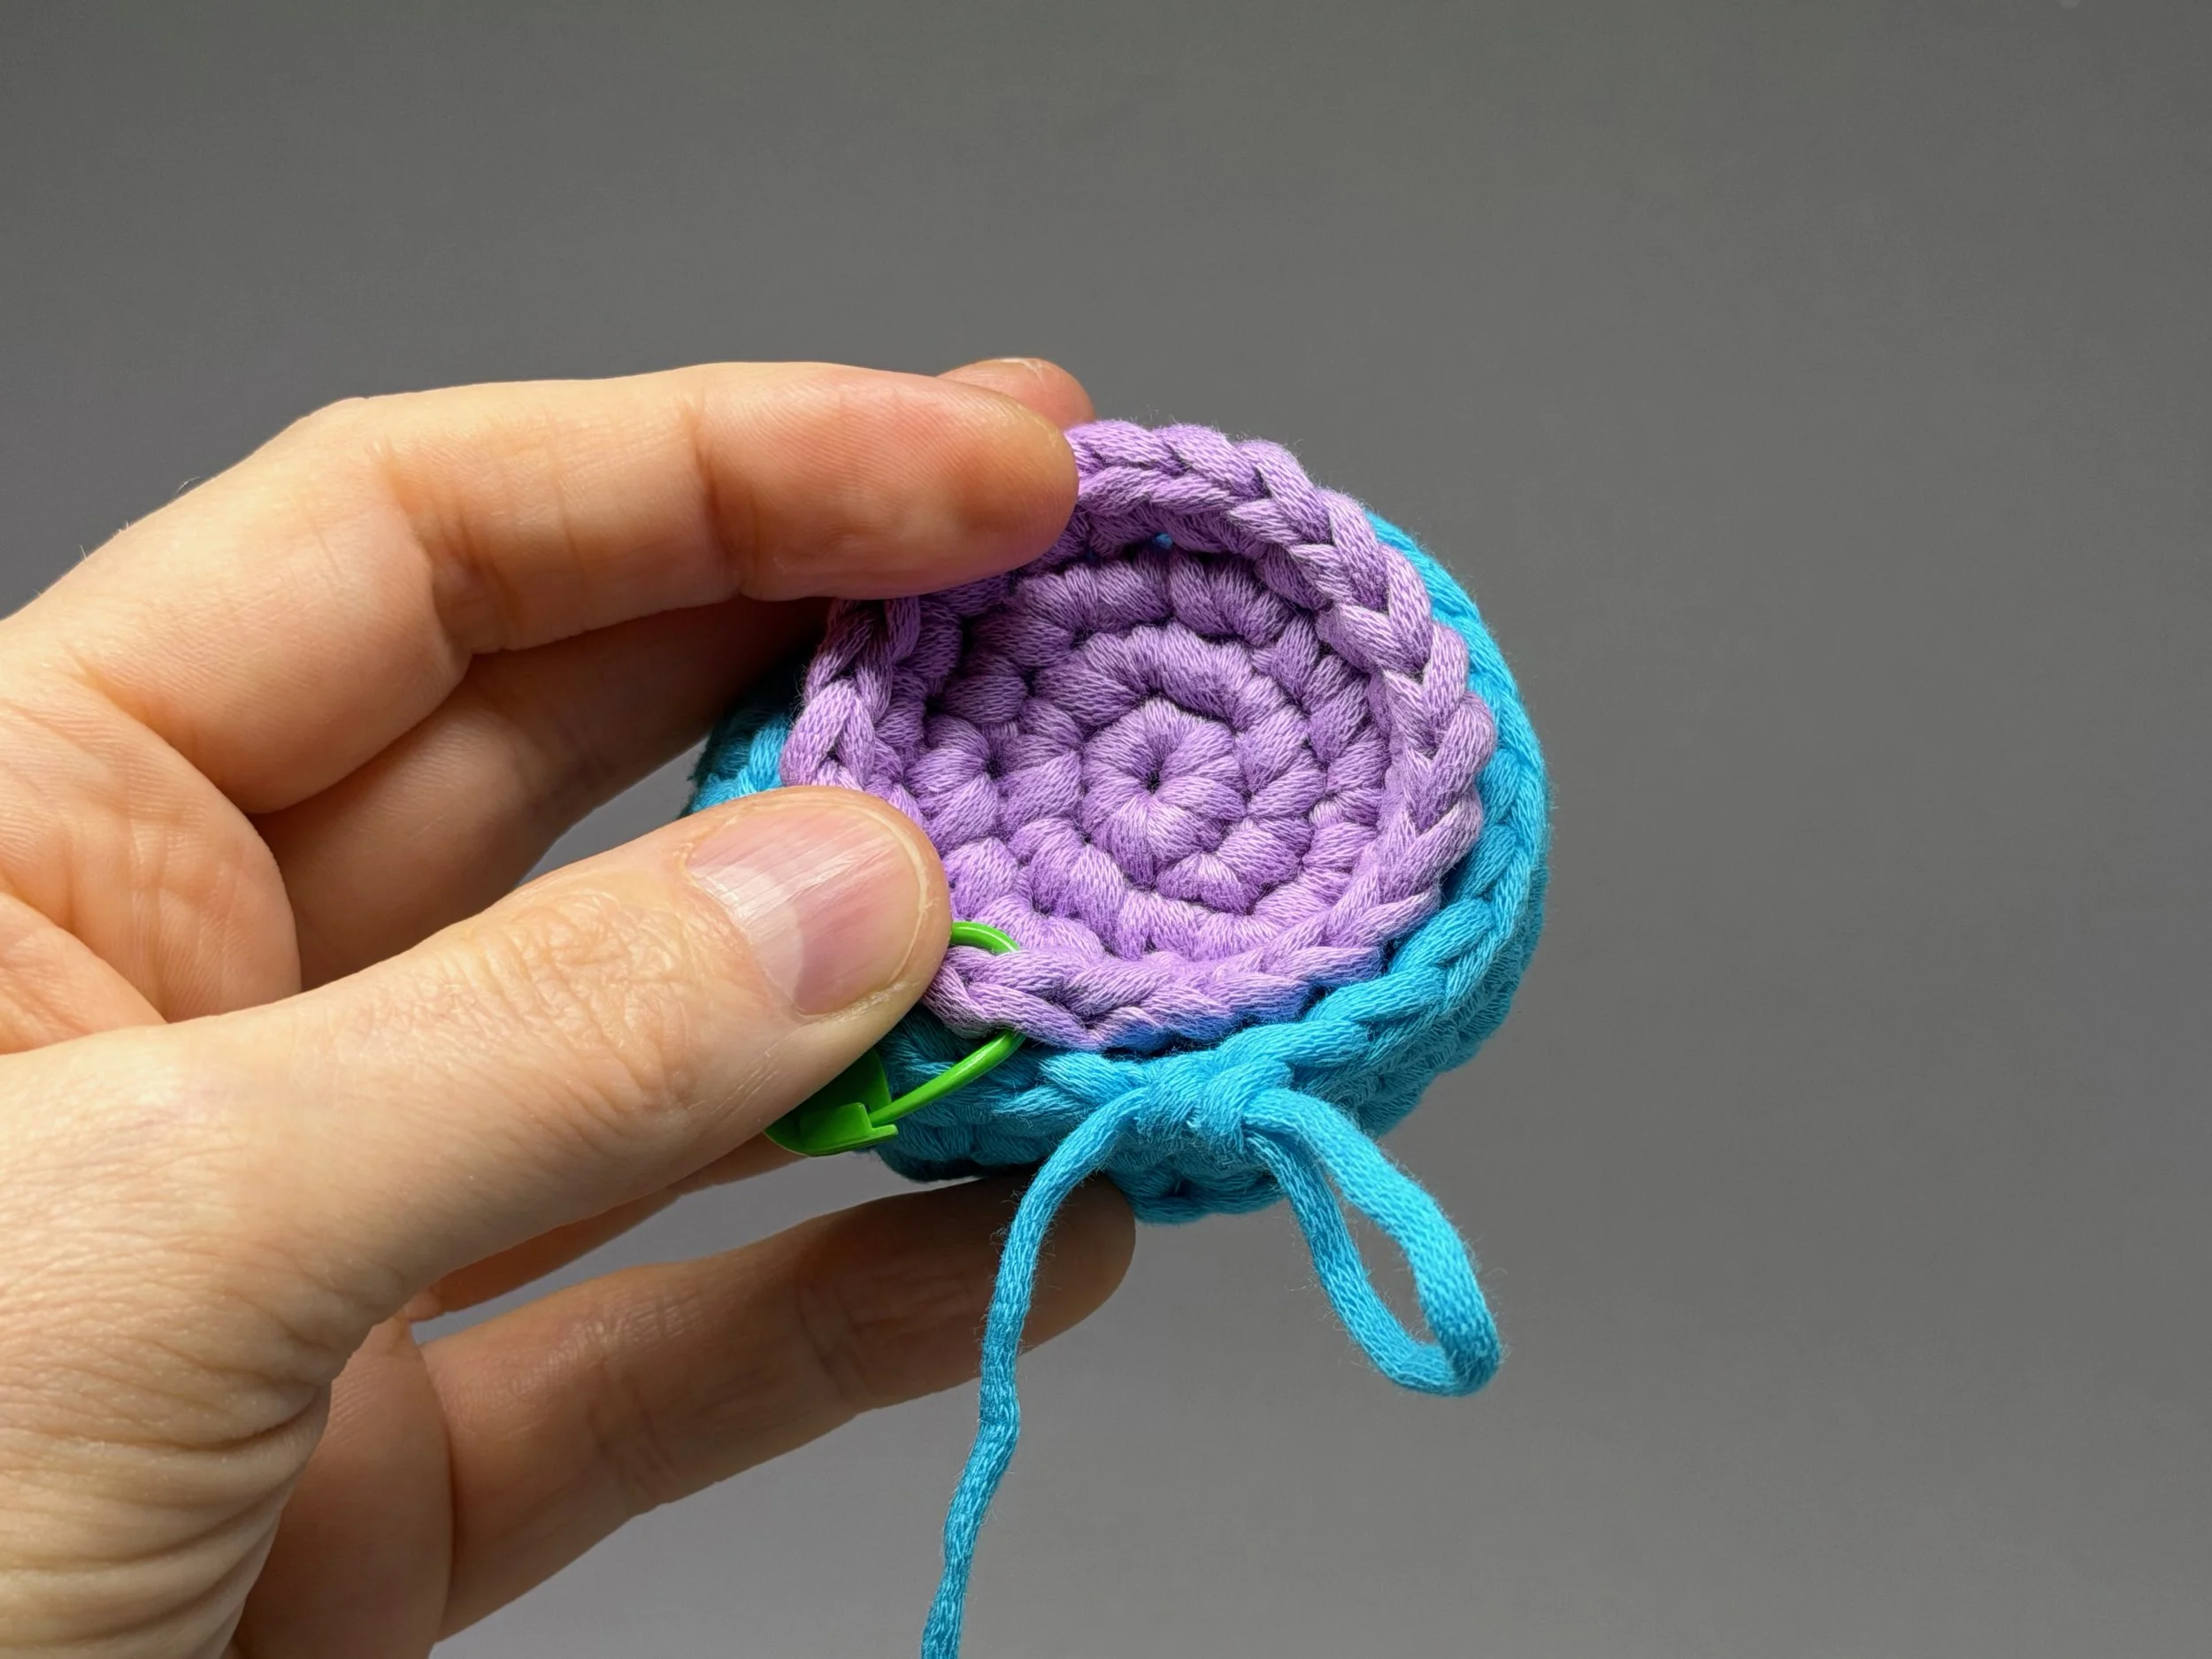
Align and Anchor: Place your top piece exactly where you want it on the base piece, with the yarn of the base piece still on your hook.
Pro-Tip #1: Use stitch markers or safety pins to "tack" the pieces in place at the four "corners" (even if it's a circle!). This prevents the top layer from shifting as you work around the edge.
Pro-Tip #2: Make your first stitch into the stitch before the invisible fasten off on the inside piece. This stitch is likely tighter from pulling the invisible fasten off and will be harder to find at the end of the round.
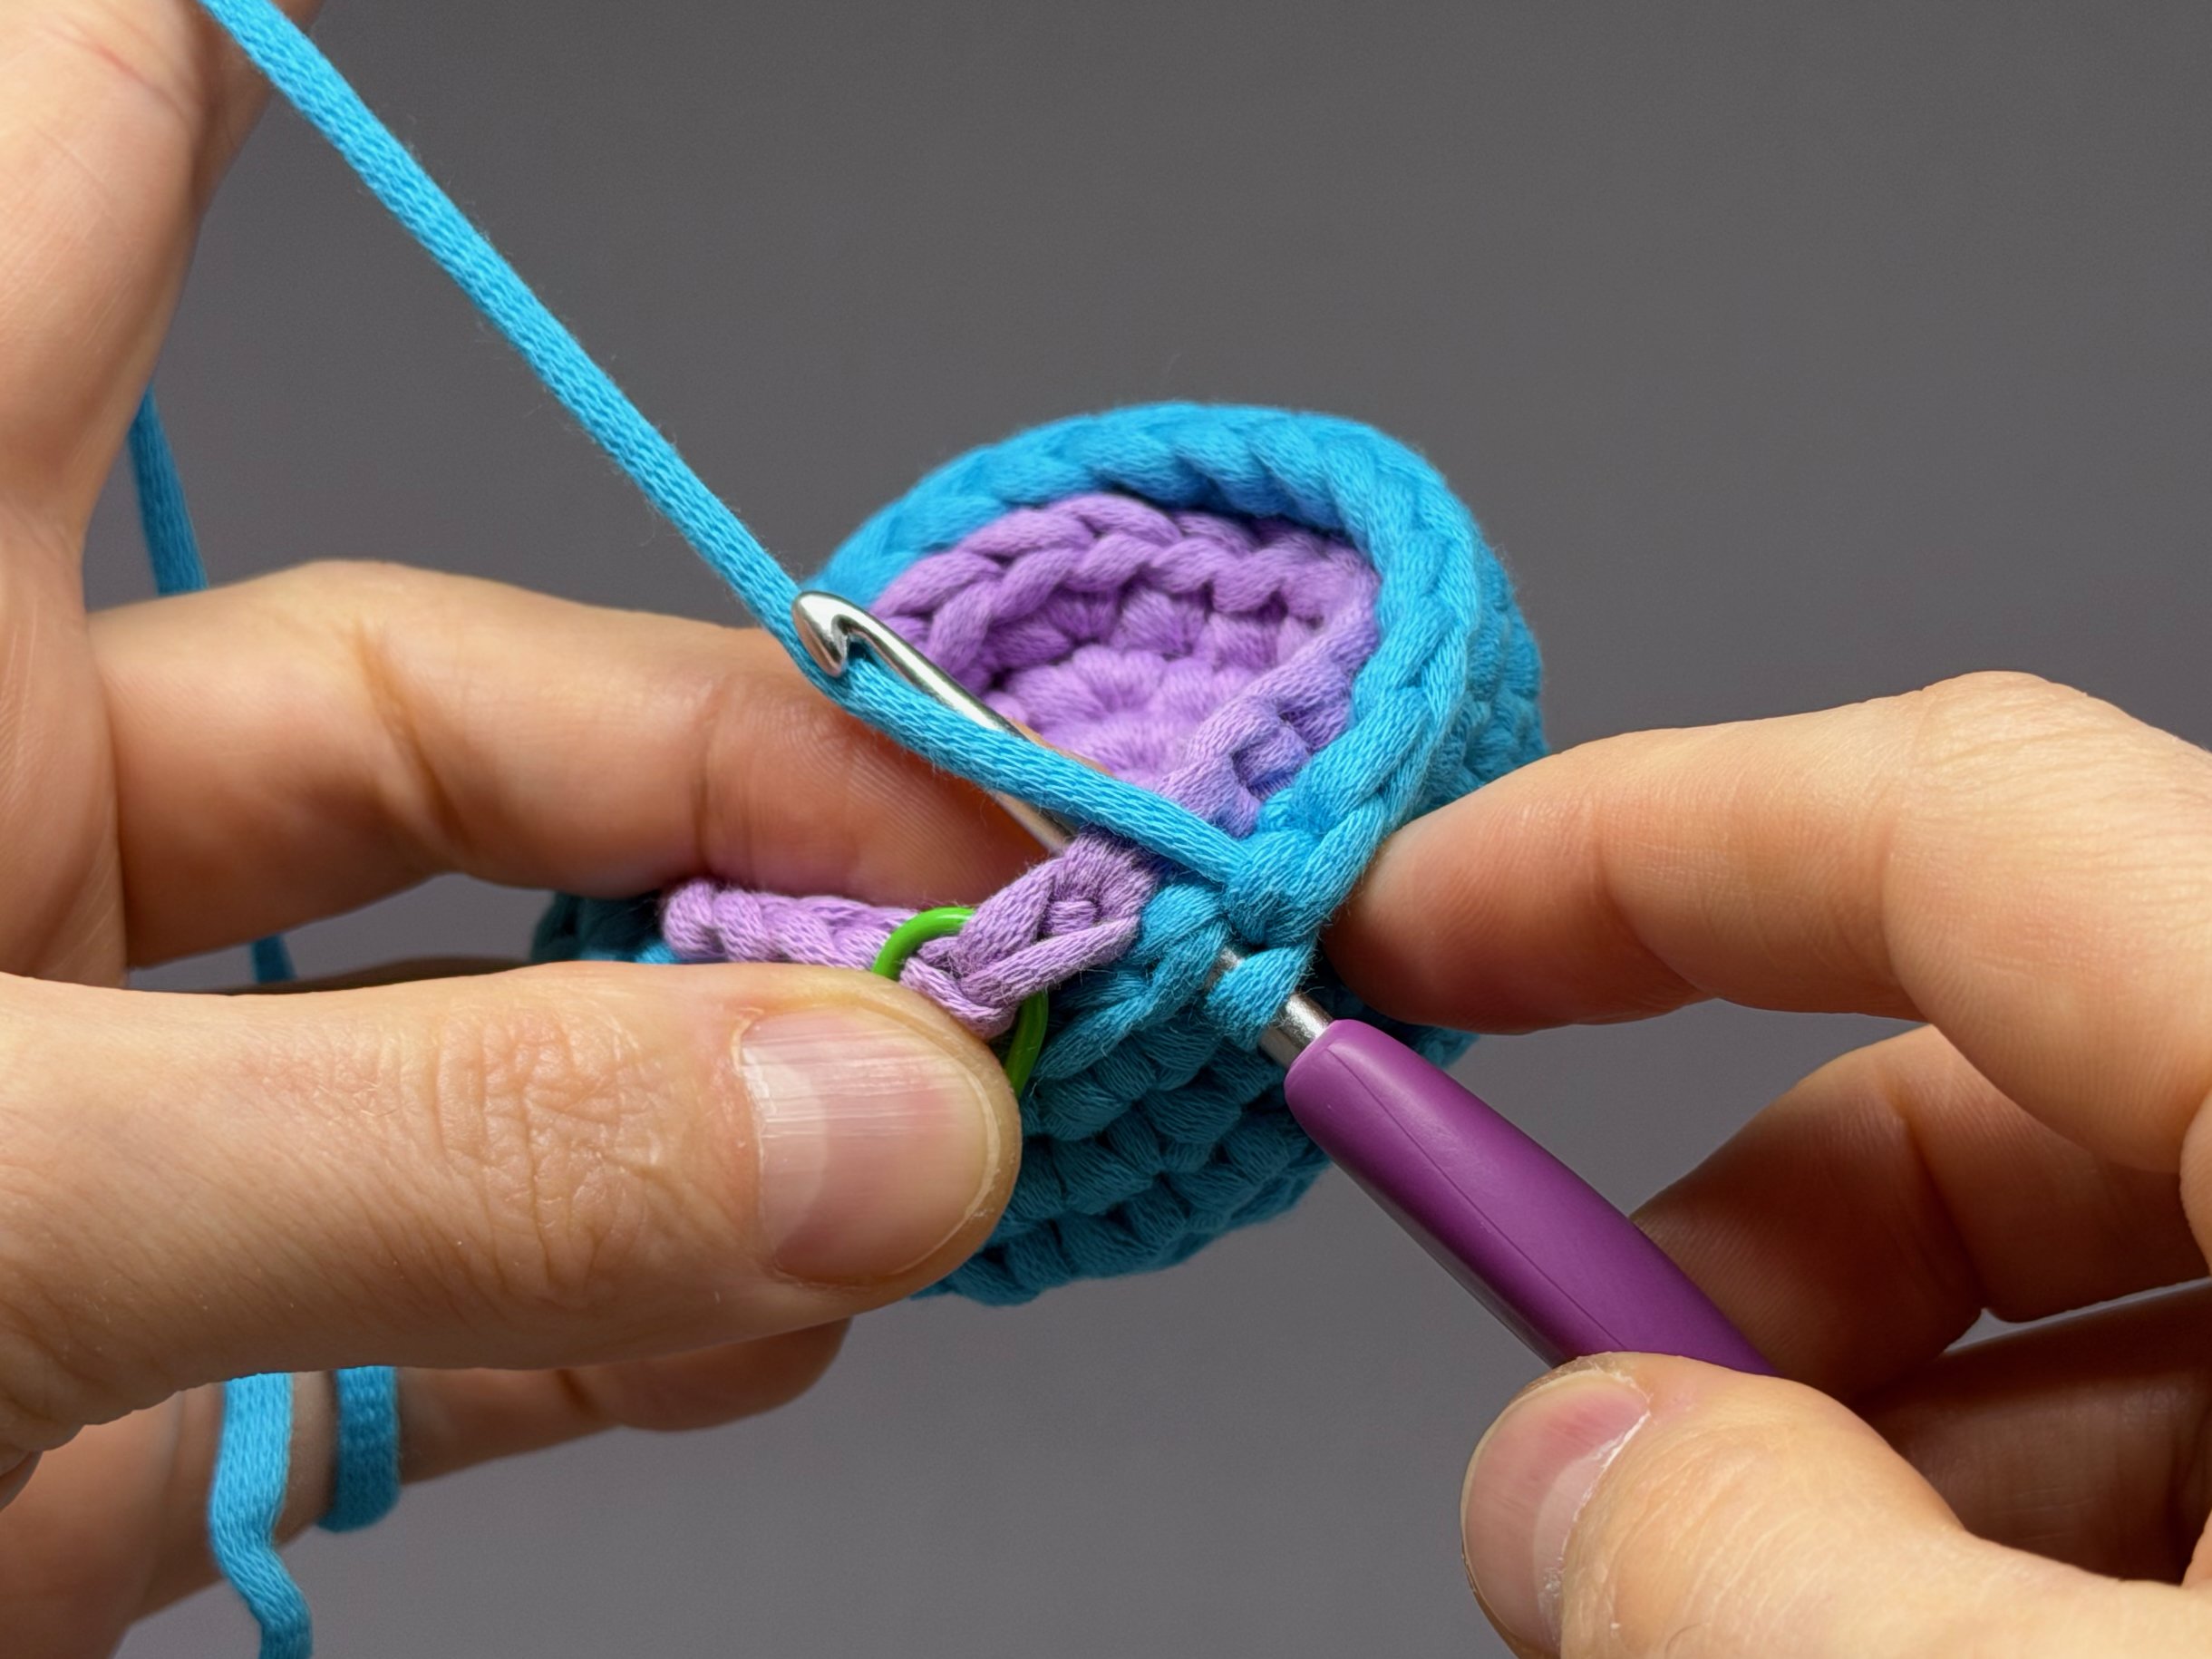
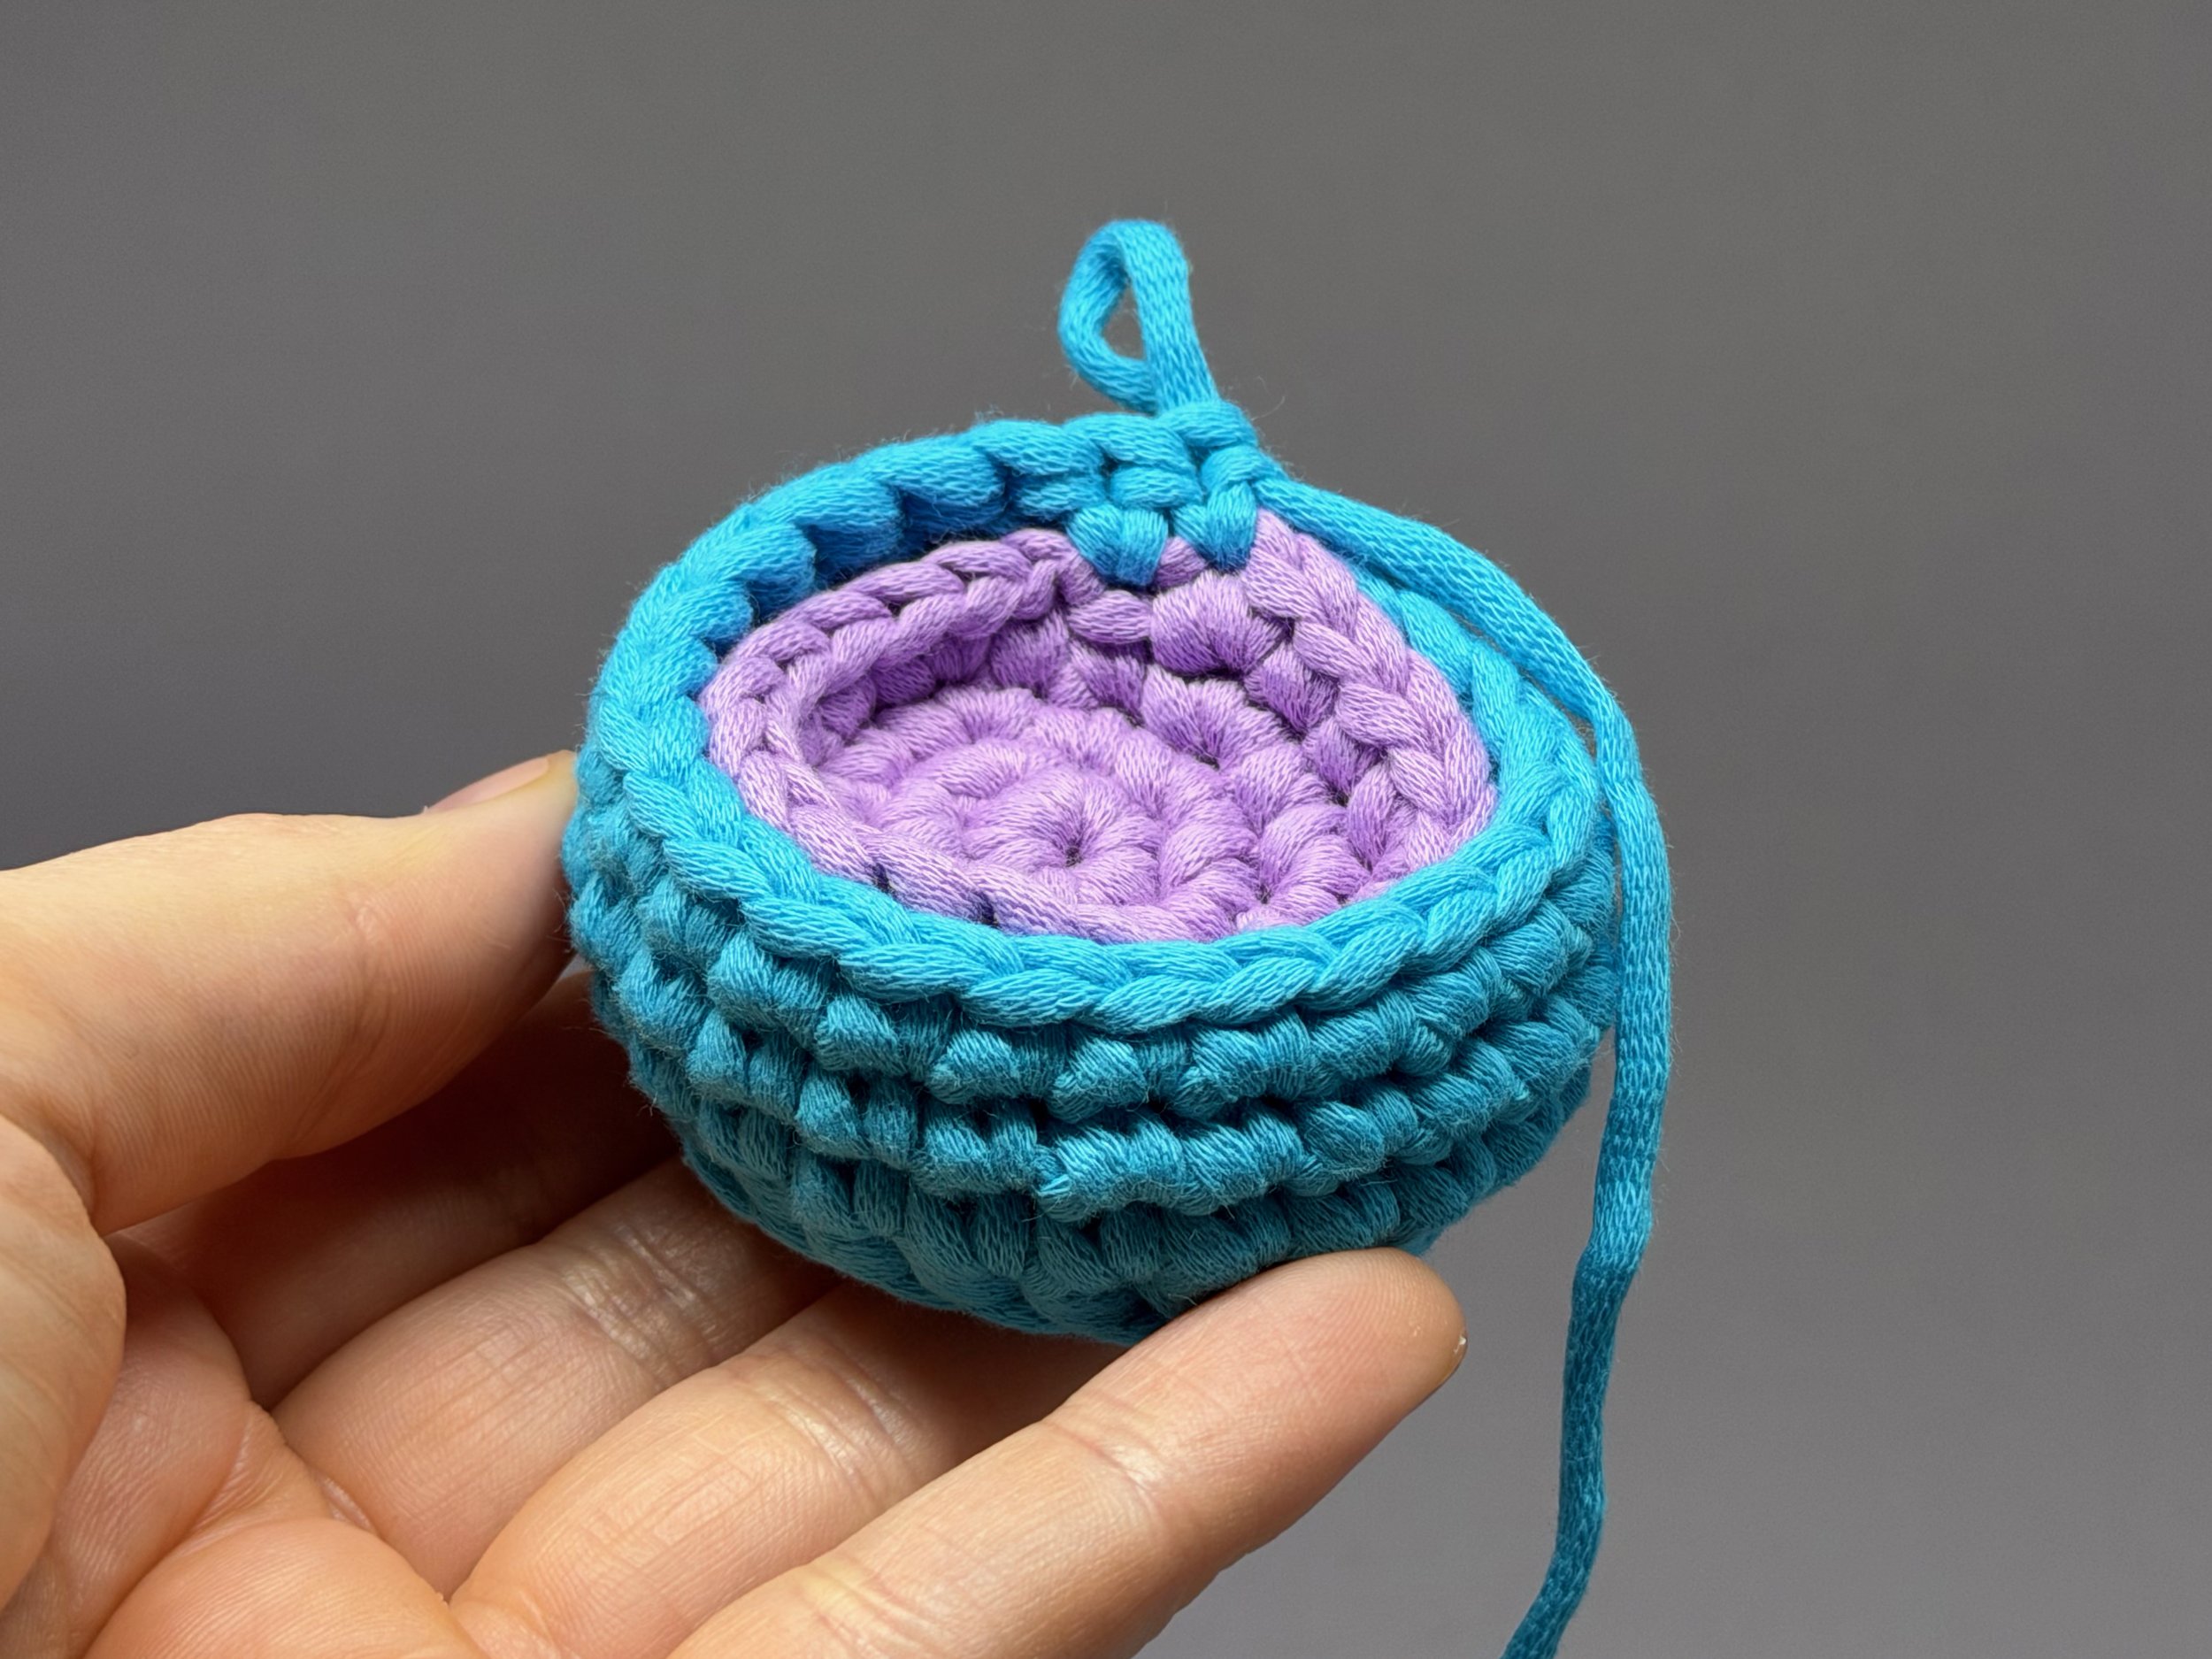
The Single Crochet Join: Insert your hook through the stitch of the main piece, then immediately through the corresponding stitch of the inside piece. Yarn over and pull through both layers, then complete your single crochet as usual.
Watch a video below!
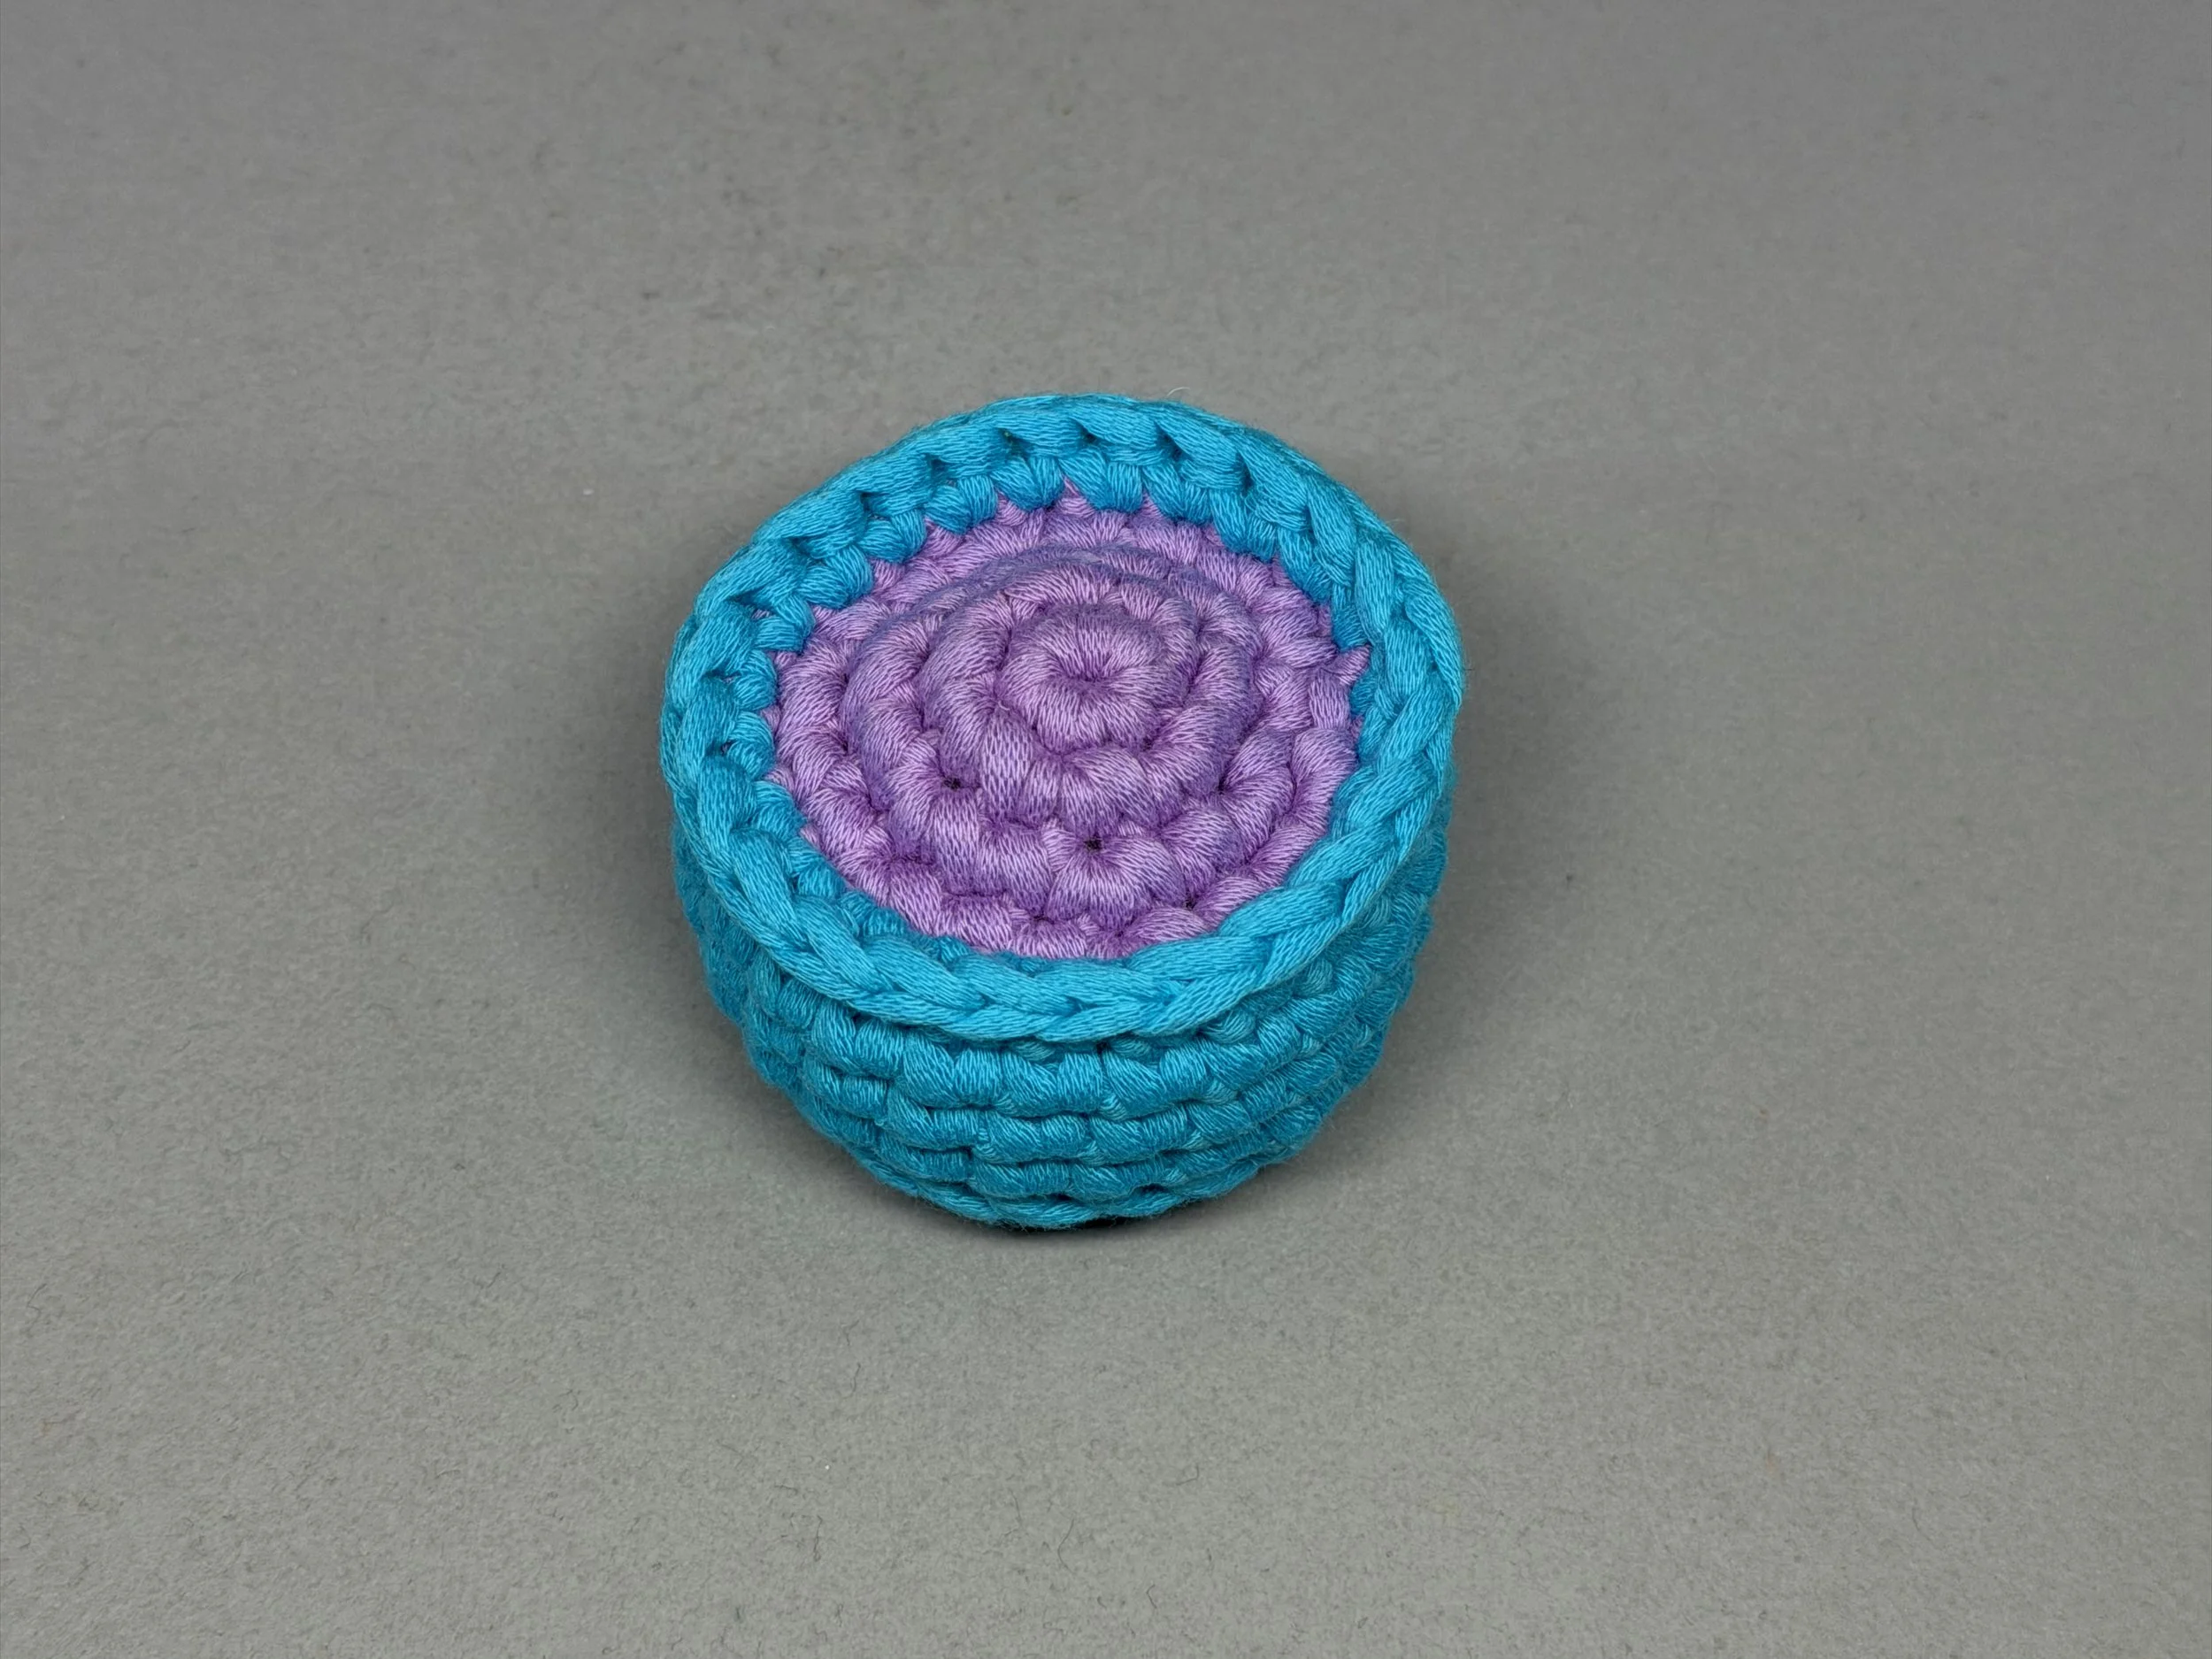
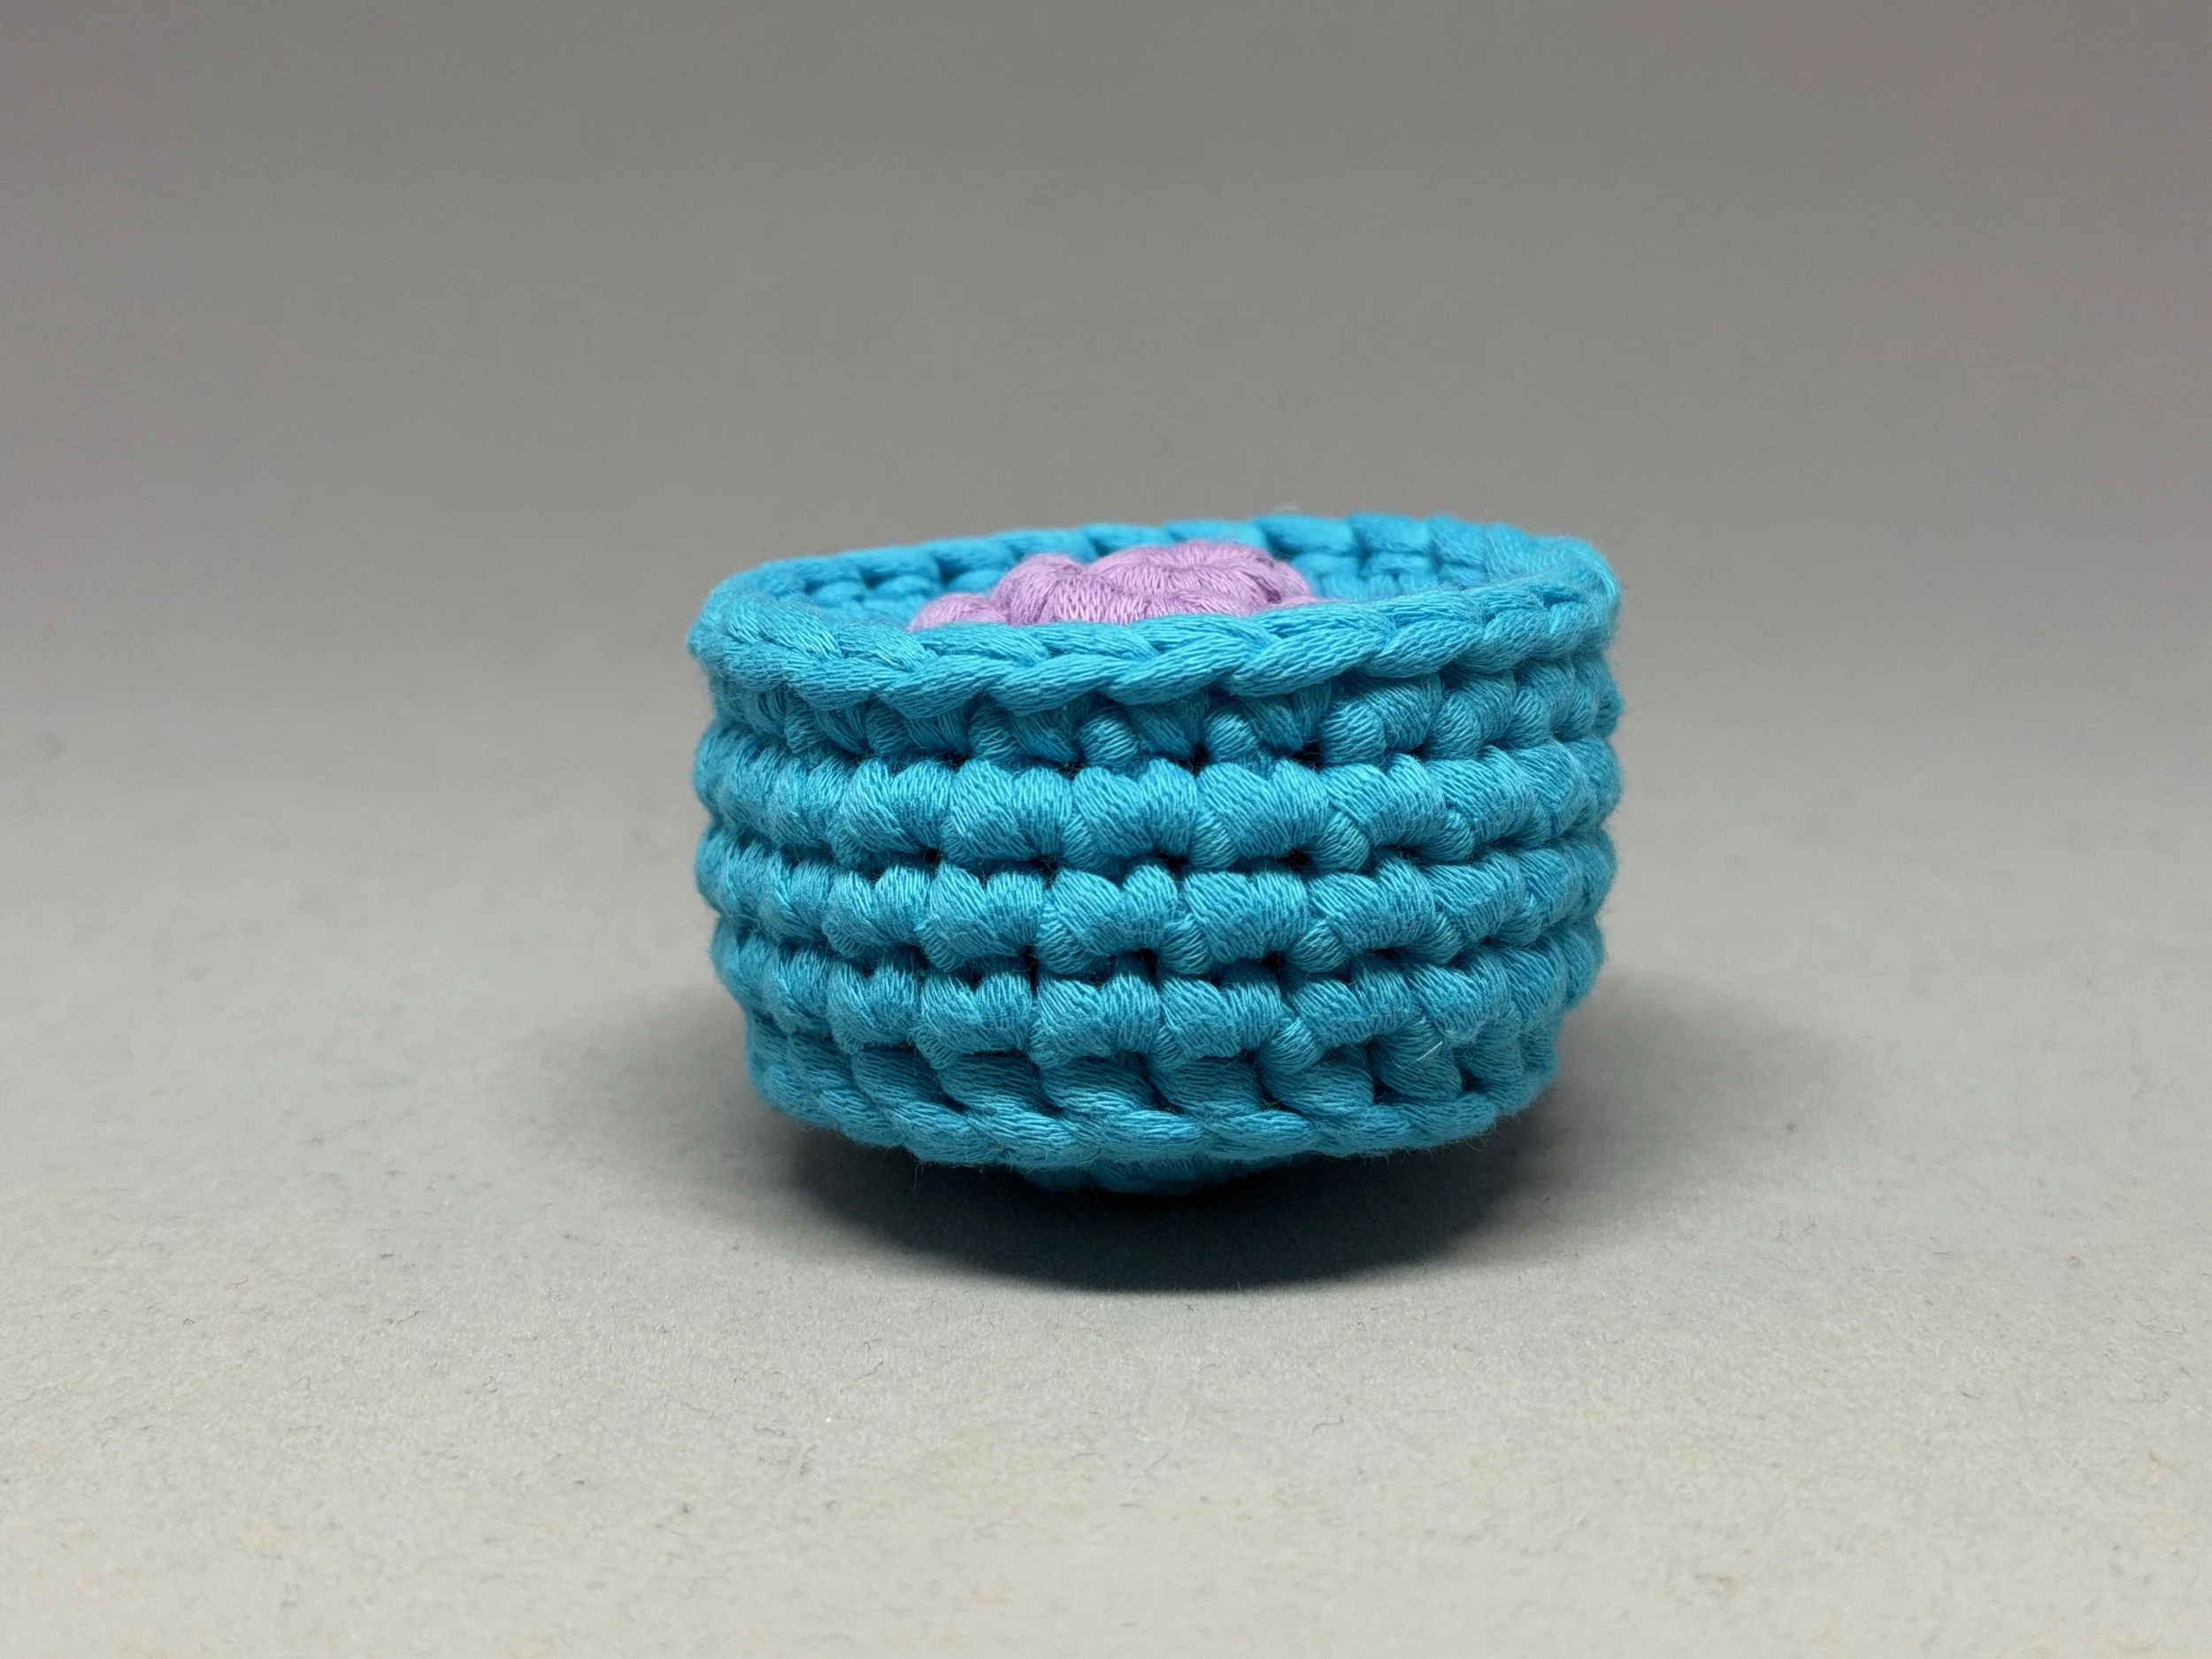
Try it out on a new project!
By mastering the art of the crochet join, you're not just assembling a toy—you're engineering a durable piece of art that looks just as good as it feels. Plus, no tedious sewing!
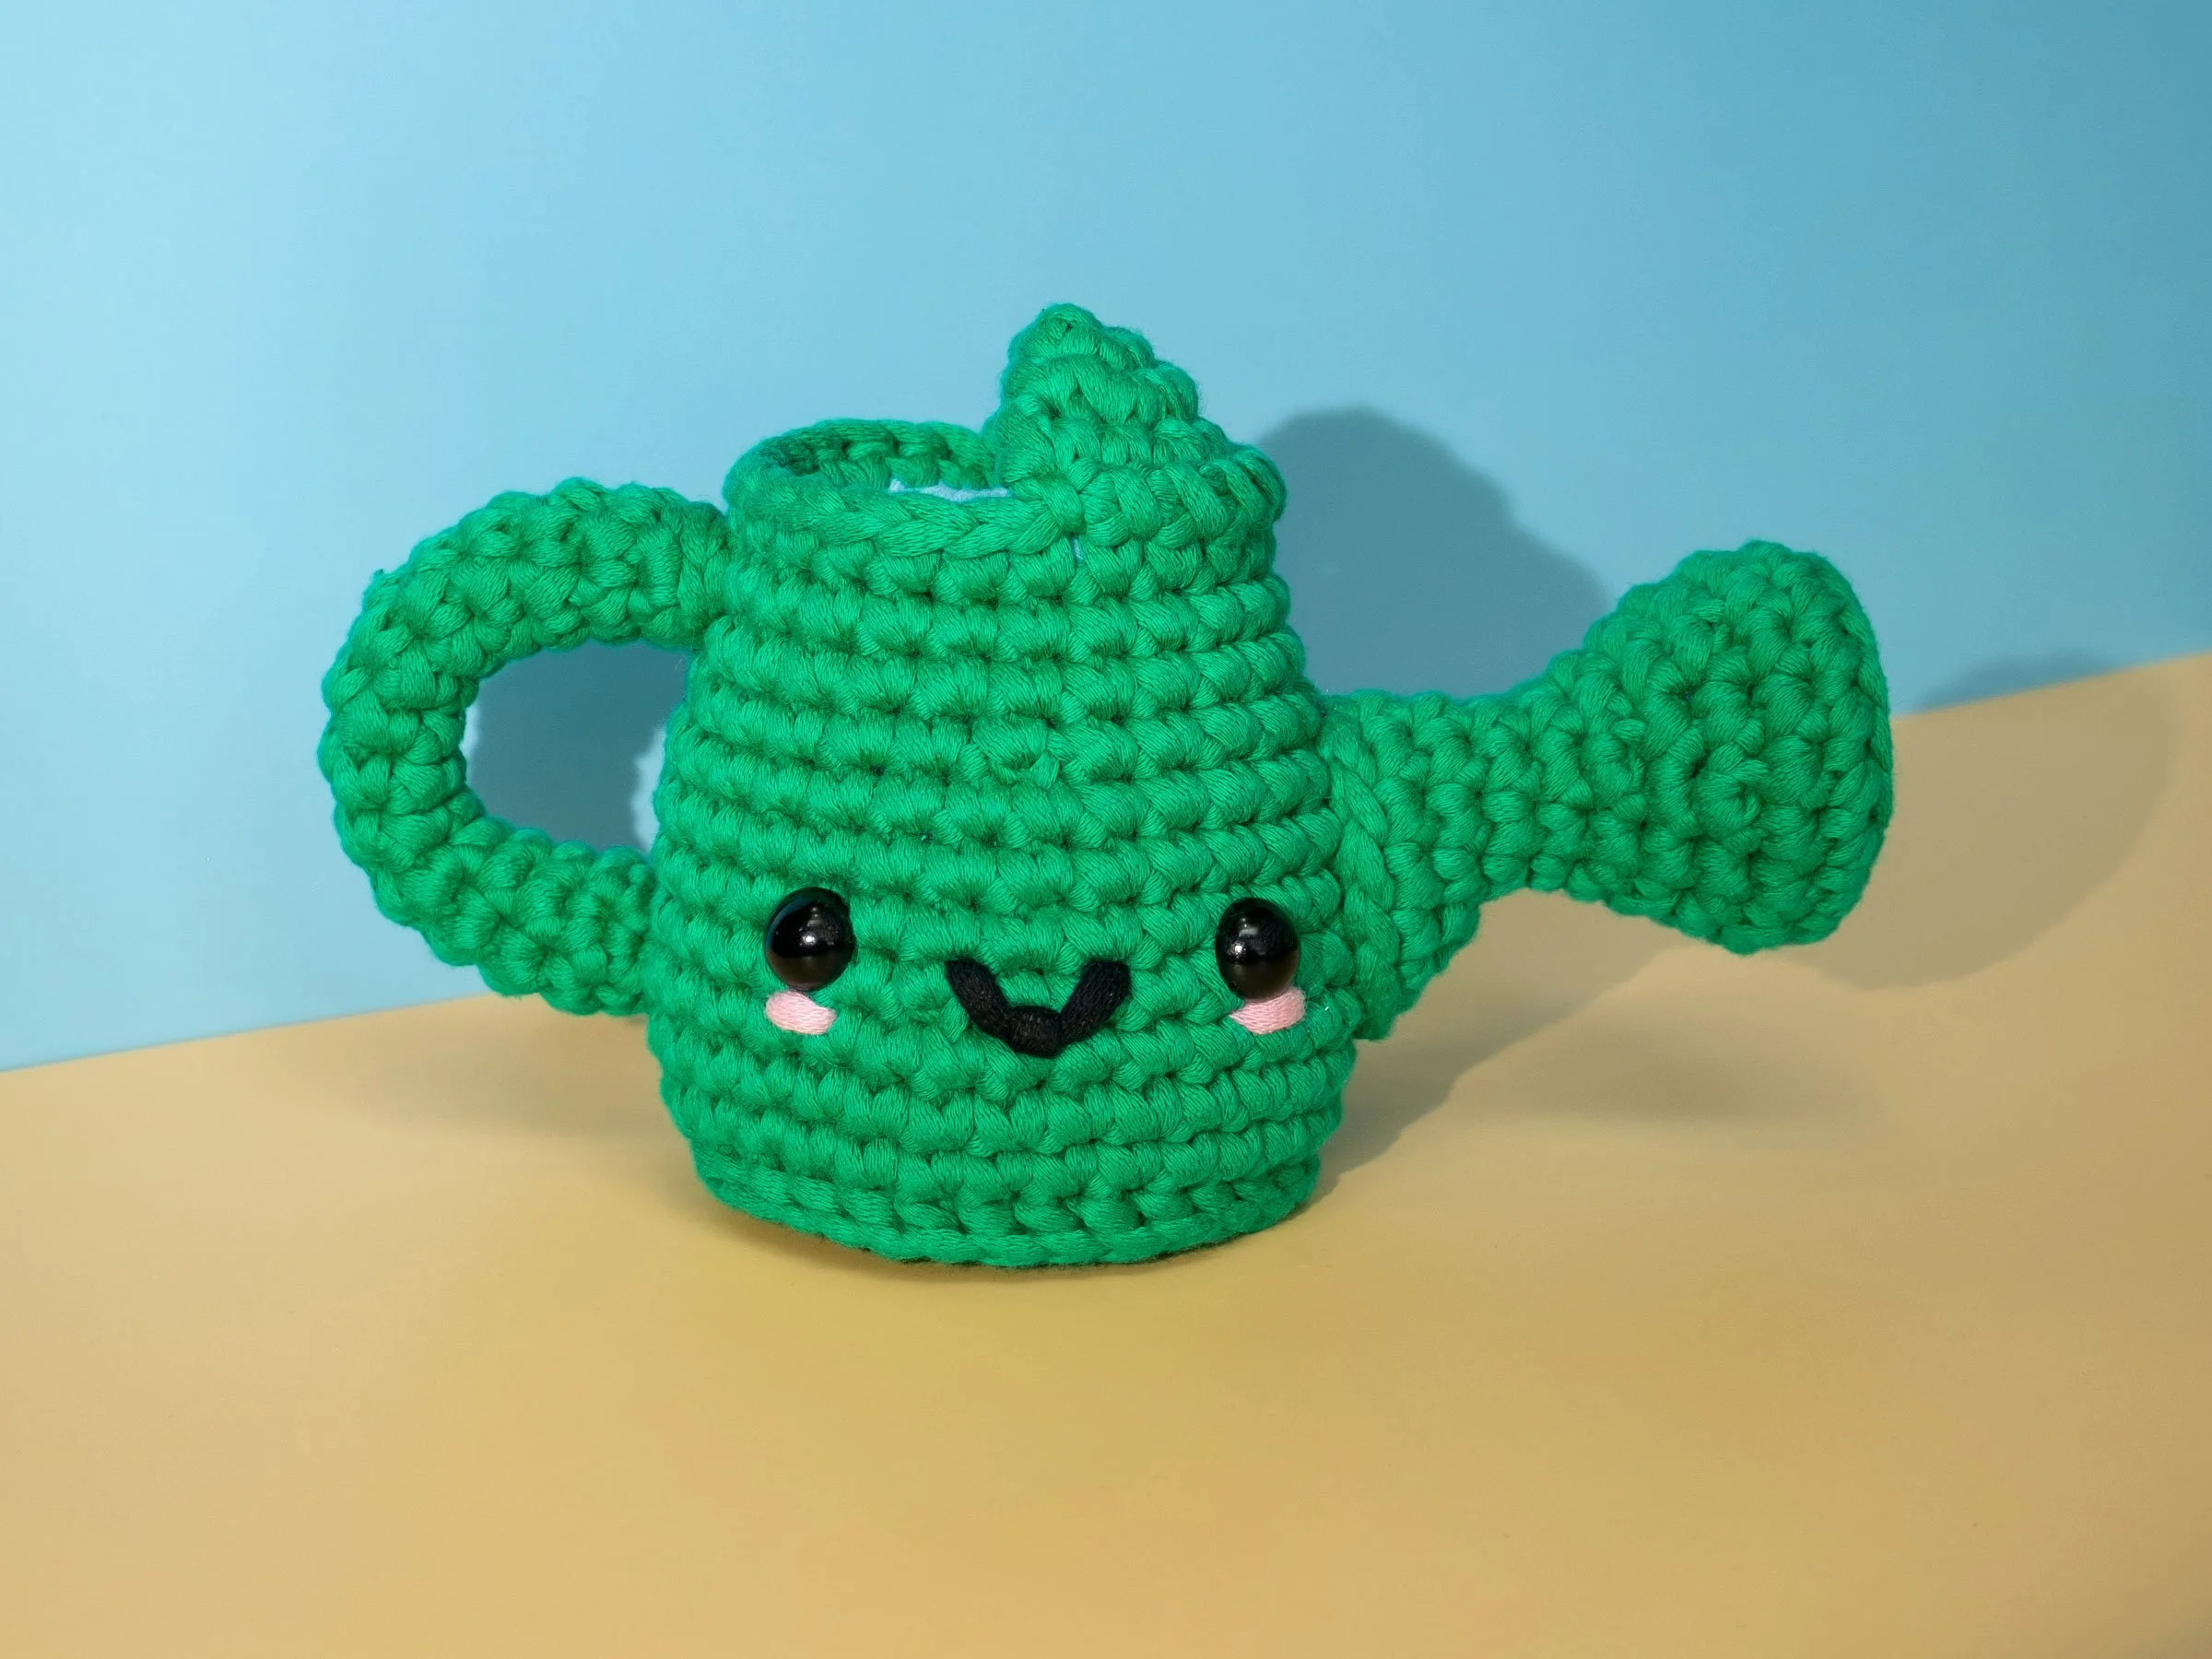
Perry the Watering Can has been waiting patiently for someone to notice he has a lot of personality for a watering can. He does. This intermediate pattern captures a classic garden silhouette with genuine warmth—the kind of character who fits right in whether he's paired with a plant or standing happily on his own. A pour-sonality in every stitch.
Difficulty: ➀ ➁ ➌ ➃ ➄
See below for materials and techniques required to complete this pattern.

It’s officially "sweater weather" when Duke the PSL arrives! This beginner(ish) pattern is a tribute to the most iconic drink of the season. Duke is "pumpkin-spicing" things up with his festive charm, making him the perfect companion for crisp autumn afternoons. He’s all the fall flavor you love, captured in a cozy crochet cup. Give your yarn a "latte" love and stitch up this seasonal favorite!
Difficulty: ➀ ➋ ➂ ➃ ➄
See below for materials and techniques required to complete this pattern.