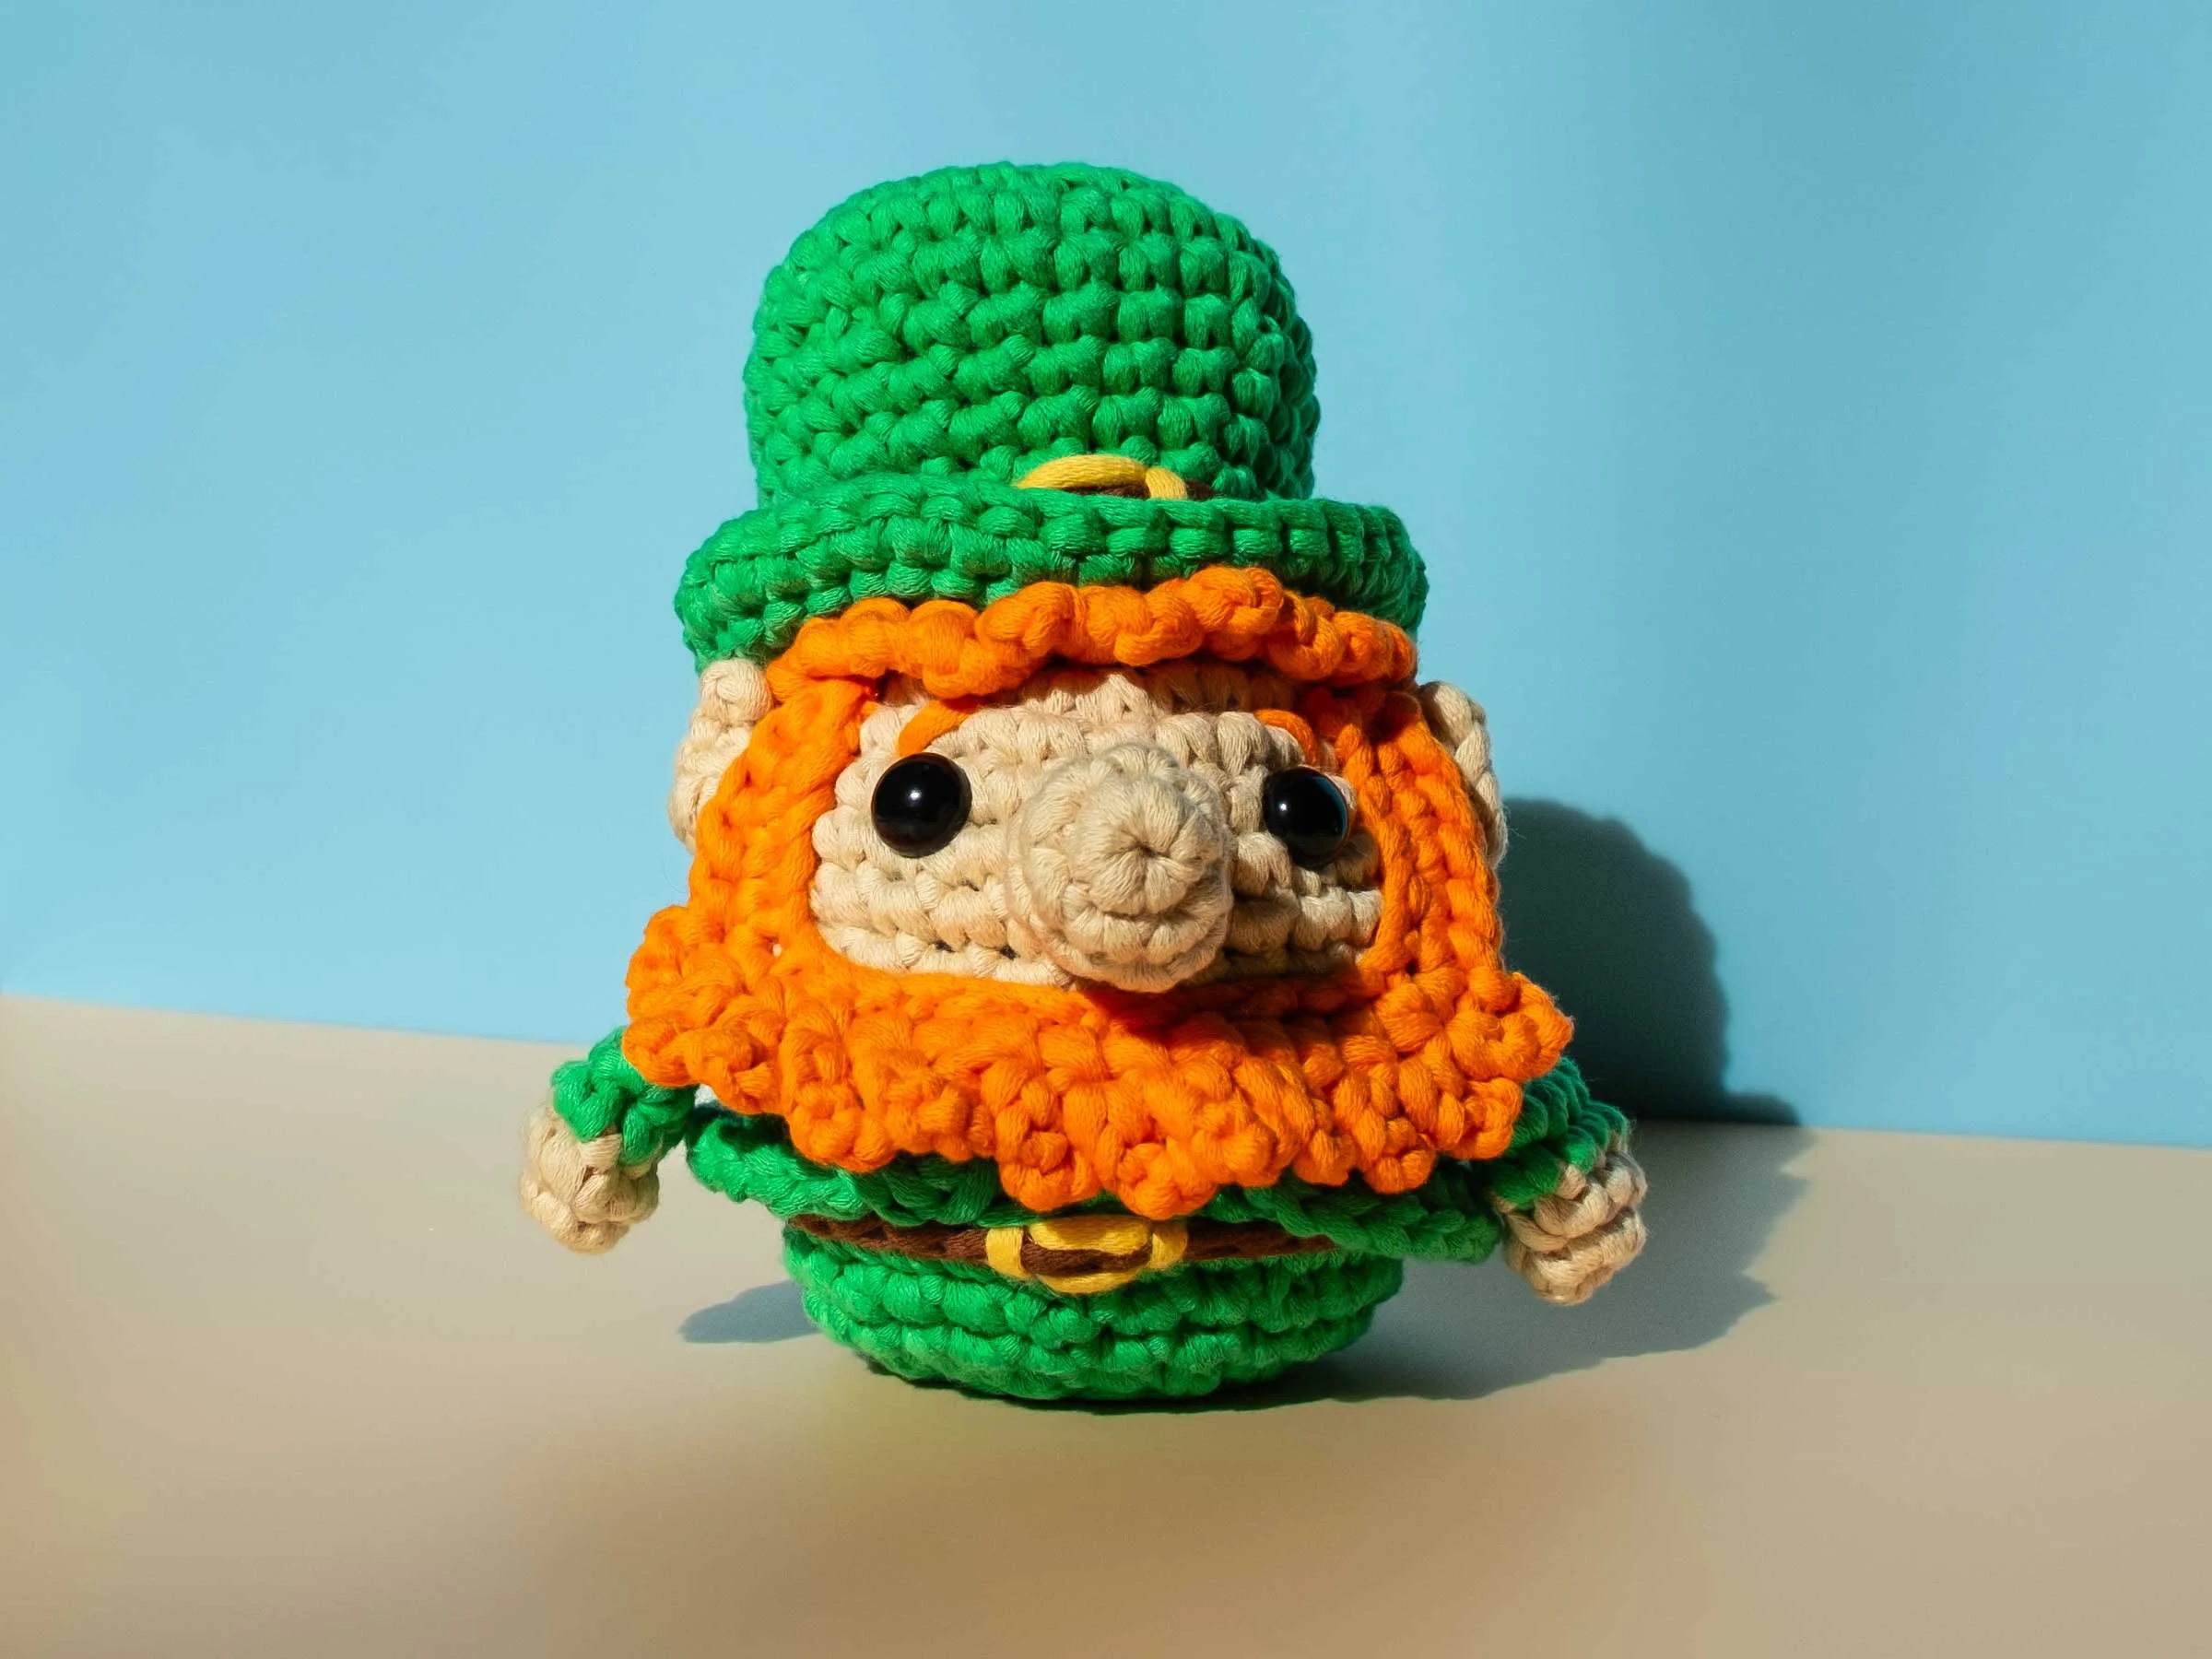
Give Your Egg-shaped Amigurumi a Flat Base


Left: Easy method; Right: Easy(ish) method with a slightly wider base for additional stability.
Sometimes you don’t want your egg-shaped amigurumi just for cuddling, but to stand up straight and take center stage!
It can be a little frustrating when your carefully crafted creation wobbles over instead of standing tall on your shelf. Some solutions include using a different type of stuffing, like stuffing pellets or beads, or adding a weighted base, but then you can’t really cuddle it at all. These simple modifications will keep the squish, without the tip!
Do you have your own method? Add it in the comments below, and don’t miss a bonus tip at the end of the post!
Materials Needed
Yarn of your choice
Corresponding crochet hook
Scissors
Tapestry needle for weaving in ends
Learn more on the Tools & Materials page →
Easy
This is the simplest method and requires the least amount of thinking, any color changes or embroidery from your original pattern should incorporate fine. This takes a little bit off the height off and the quick narrowing of the base may still be a little unstable.
The Modification
In the second-to-last round, make the stitches in the back loops and then complete the pattern as written.
Left: Easy method; Right: Easy(ish) method. The easy(ish) is slightly wider. (Click to enlarge)
Your pattern that looks like this:
| R14 | [2 sc, dec] x 8 | (24) |
| R15 | 24 sc | (24) |
| R16 | [sc, dec] x 8 | (16) |
| R17 | 16 sc | (16) |
| R18 | 8 dec | (8) |
Now looks like this:
| R14 | [2 sc, dec] x 8 | (24) |
| R15 | 24 sc | (24) |
| R16 | [sc, dec] x 8 | (16) |
| R17 | 16 sc blo | (16) |
| R18 | 8 dec | (8) |
Replace your back loop only stitches with back post single crochets to really strengthen and support your base. Learn how →
Easy(ish)
This method modifies the stitch count in a round, which may affect color changes or embroidery. Look ahead in your pattern before making these changes. This modification creates a wider base, providing even more stability.
The Modification
When your pattern makes its first decrease round (R14), it’s usually followed by one round with the same number of stitches (R15). Add another round of the same number of stitches.
This is typically followed by another decrease (R16), and then a second round with the same number of stitches (R17). Remove that extra round (R17) to create the flat base.
Your pattern that looks like this:
| R14 | [2 sc, dec] x 8 | (24) |
| R15 | 24 sc | (24) |
| R16 | [sc, dec] x 8 | (16) |
| R17 | 16 sc | (16) |
| R18 | 8 dec | (8) |
Now looks like this:
| R14 | [2 sc, dec] x 8 | (24) |
| R15 | 24 sc | (24) |
| R16 | 24 sc | (24) |
| R17 | [sc blo, dec blo] x 8 | (16) |
| R18 | 8 dec | (8) |
Bonus Tip!
When you finish off the base by weaving your yarn tail through the front loops, change the direction every other loop. This helps to flatten out the “pucker” that usually occurs closing your piece, keeping it flatter and more stable.
Insert the needle from the outside to the inside of the first front loop.
In the next front loop, insert the needle from the inside to the outside.
Repeat these steps around.