
Make a Cinch Pouch From a Beginner Amigurumi Pattern
Ever finished a super cute amigurumi project and thought, “What if I could make this even more functional?”
We've all been there! Beginner amigurumi patterns are fantastic for honing your skills, but sometimes you want to create something with a little extra purpose. That's exactly what we're tackling today!
Get ready to transform a simple, beginner-friendly amigurumi shape – think a basic cylinder, round or egg – into an adorable and practical cinch pouch. This modification is surprisingly simple, requiring just a few extra steps and a drawstring. Imagine having a sweet little handmade bag perfect for holding coins, stitch markers, tiny treasures, or even a special gift!
In this tutorial, you’ll be walked through how to work your pattern backwards and to adapt the top of your existing beginner pattern to create a channel for a drawstring, turning a cute plushie into a functional pouch in no time. No need to start from scratch with a complex new pattern; it’s all about maximizing the potential of what you already know!
Ready to add a new trick to your amigurumi repertoire? Let's dive in and make some adorable, useful pouches!
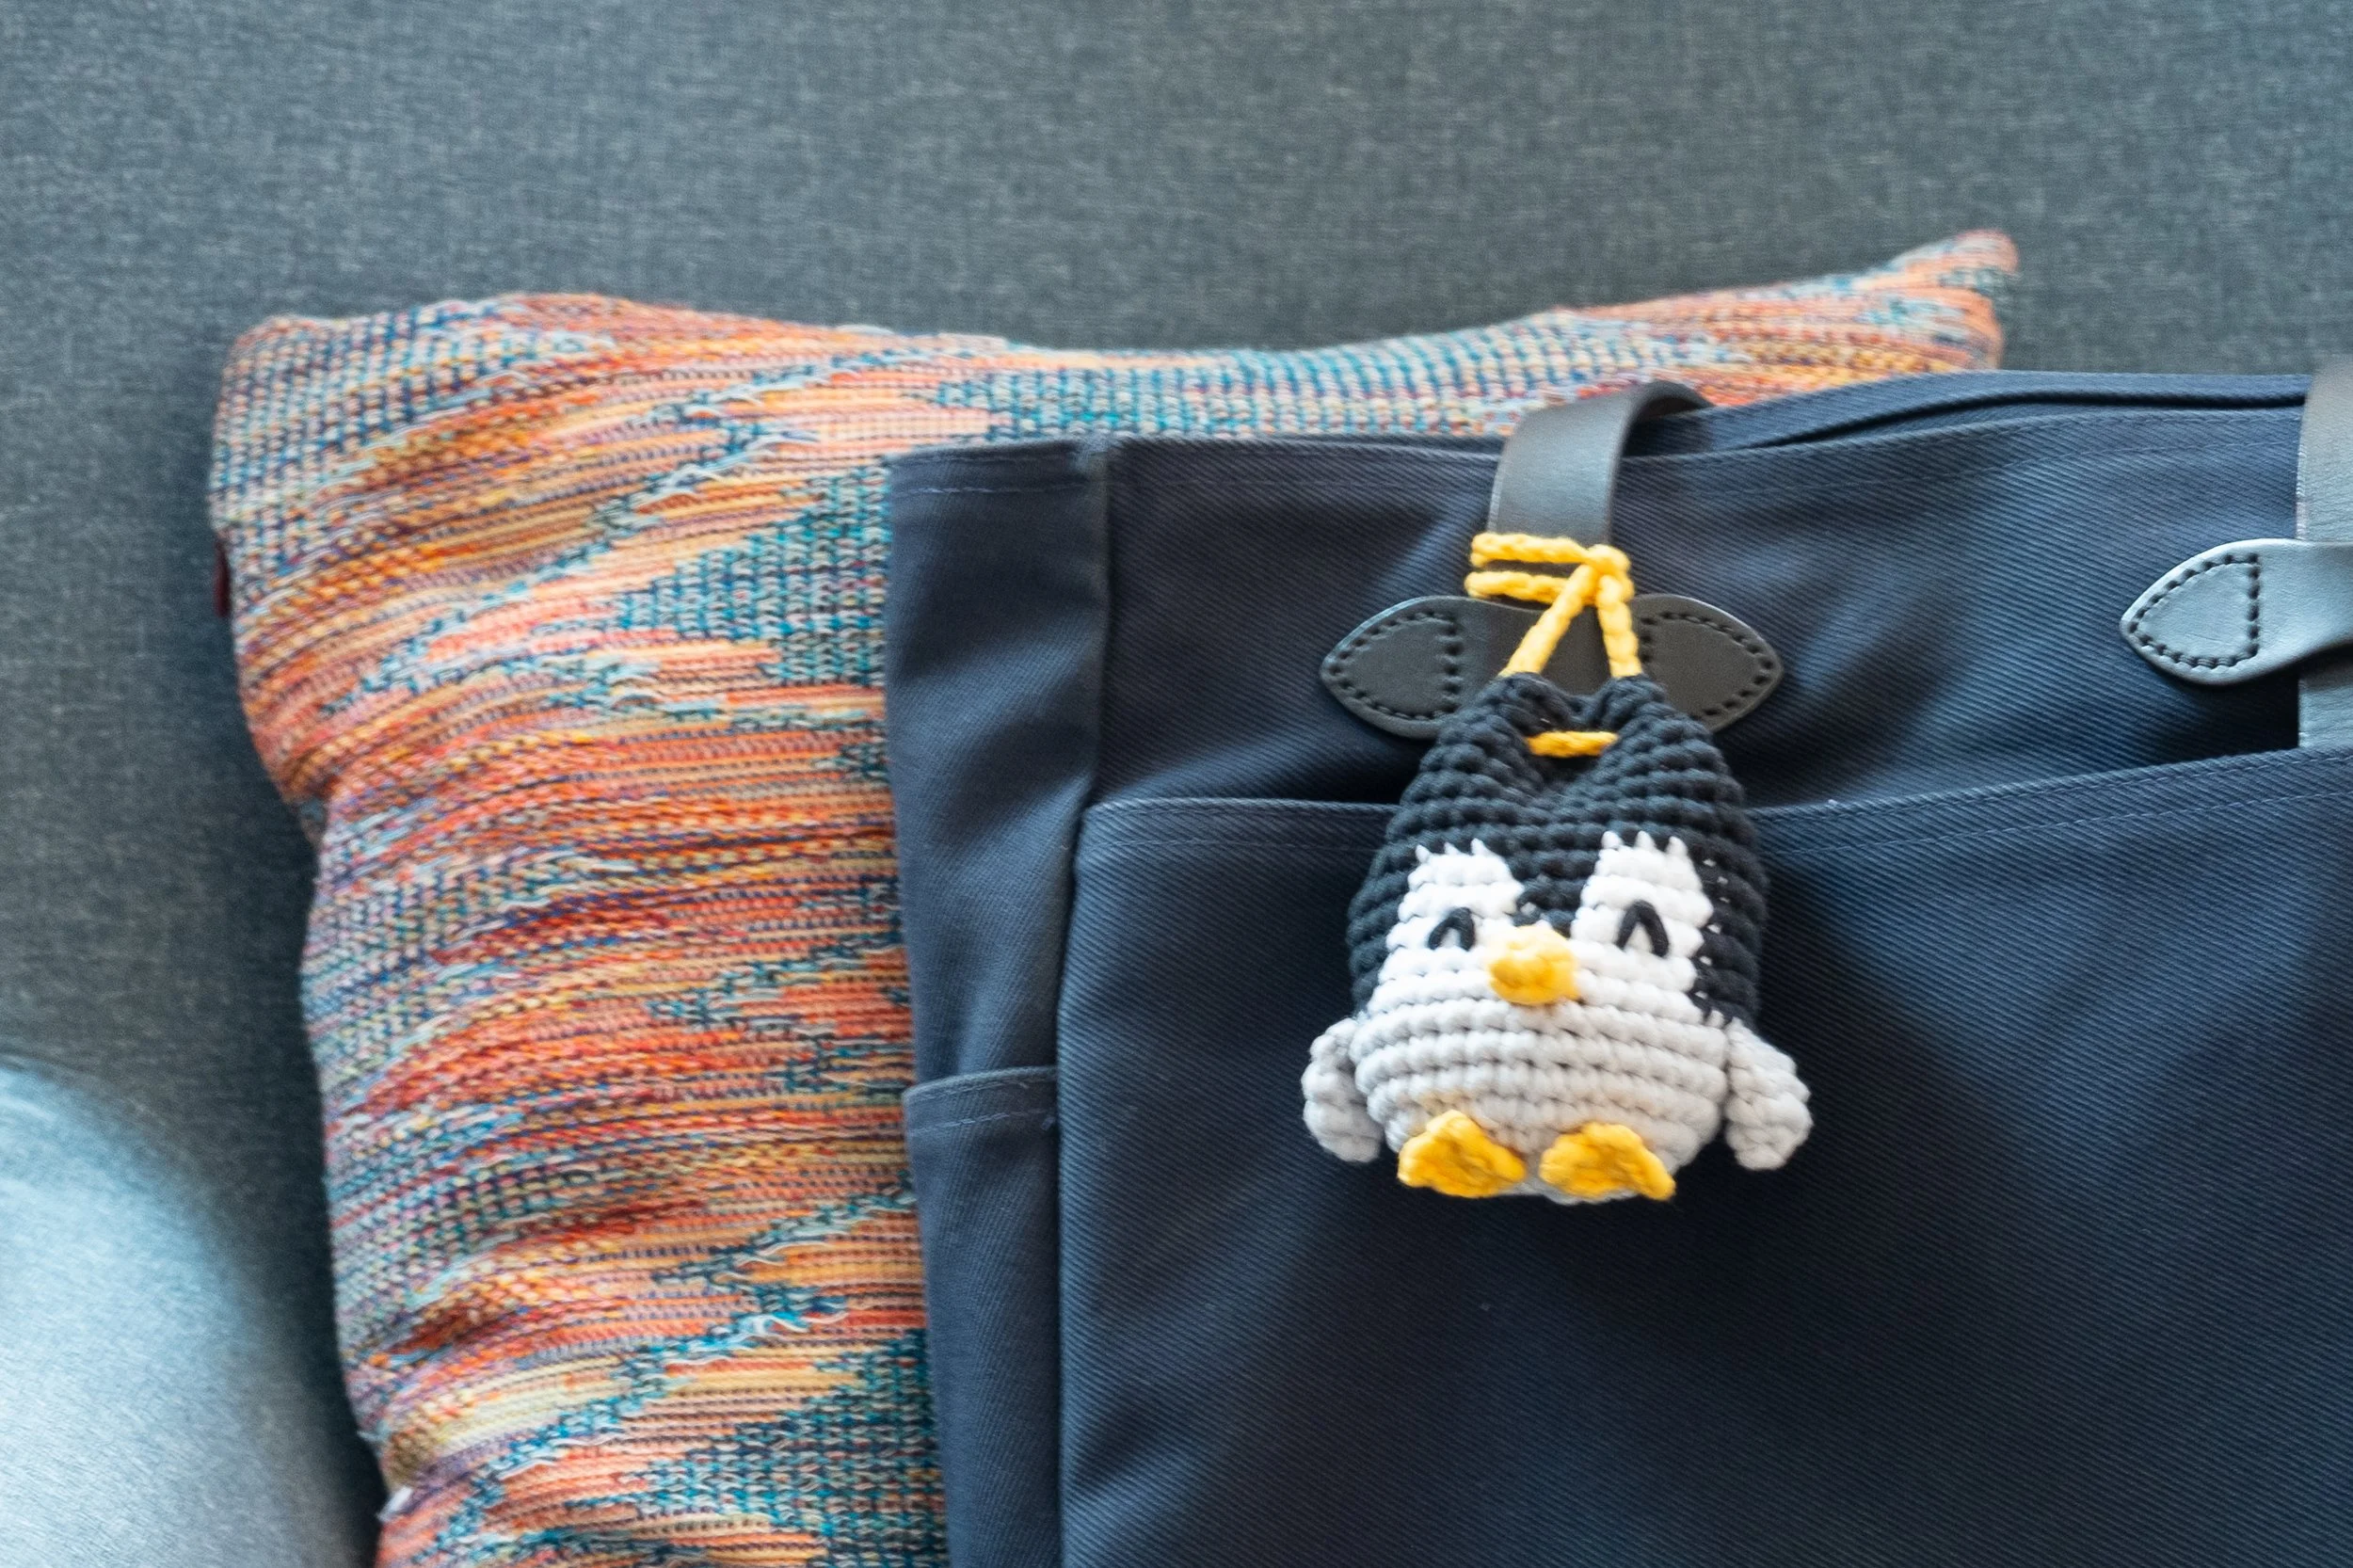
-
A basic egg shaped amigurumi pattern and the required materials.
Learn more on the Tools & Materials page →
-
See your source pattern, plus these additional techniques:
Single crochet (sc)
Chain (ch)
Skip 2 stitches (sk2st)
How to Modify Your Pattern
Most egg-shaped amigurumi follow similar patterns, but you may need to adjust your modifications as you go. The following are basic steps to add to an 18 round egg-shaped pattern. There are some variations of this shape, or your pattern may make a larger piece, but the general approach should work for any round-ish shapes.
Below is an example of the final rounds of a pattern:
| R13 | 32 sc | (32) |
| R14 | [2 sc, dec] x 8 | (24) |
| R15 | 24 sc | (24) |
| R16 | [sc, dec] x 8 | (16) |
| R17 | 16 sc | (16) |
| R18 | 8 dec | (8) |
As noted by the alternating colors, the total number of stitches at the end of a round in the written pattern should also be the number of stitches of the following round, with increases and decreases flipped (where the pattern says dec, replace with inc). Essentially, you’re starting the pattern at the number of stitches at the end of the round and working backwards to complete the steps of that round to get the number of stitches at the end of the previous round.
In order to get 8 stitches in round 18 (what will now be round 1 of the cinch pouch), you must now start a magic ring with 8 stitches. Then the 8 decreases of round 18 switch to 8 increases to get 16 stitches in round 17 (what will now be round 2 of the pouch).
The reversed pattern now looks like:
| R18/R1 | Start 8 sc in a magic ring | (8) |
| R17/R2 | 8 inc | (16) |
| R16/R3 | 16 sc | (16) |
| R15/R4 | [sc, inc] x 8 | (24) |
| R14/R5 | 24 sc | (24) |
| R13/R6 | [2 sc, inc] x 8 | (32) |
Once you reach the widest round, with the highest number of stitches (in this case 32), complete all remaining rounds in the same number of stitches, rounds 12–1 of the original pattern (or rounds 7–18 of the pouch modification) will all be completed in 32 sc.
Now you will add two new rounds to create the enclosure for the drawstring that will cinch the pouch closed.
Tip: You may find it helpful to put a stitch marker in the first sc after each ch in round 19 to make sure you don’t skip the two ch’s in round 20 and your stitch count is correct.
| R19 | [2 sc, ch 2, sk2st, sc, ch 2, sk 2 st, sc] x 4 | (32) |
| R20 | [2 sc, 2 sc blo (of the ch's), sc, 2 sc blo (of the ch's), sc] x 4 | (32) |
If the widest round of your pattern is 36 stitches, modify rounds 19 and 20 by replacing the first 2 sc to 3 sc (in each of the 4 times you repeat).

Drawstring
Using a secondary color from the pattern for contrast, or the body color to blend in, chain at least 1.5x the width of the top (ex. for 32 stitches, complete a chain of at least 48).
Fasten off.
Thread a needle with one end and insert the needle through the first hole at the back and out the next hole.
Repeat around and adjust so equal lengths of the drawstring are coming out.
Using the yarn tails, tie a knot. If your piece will get a lot of use and you want added security, apply hot glue or clear nail polish around the knot.


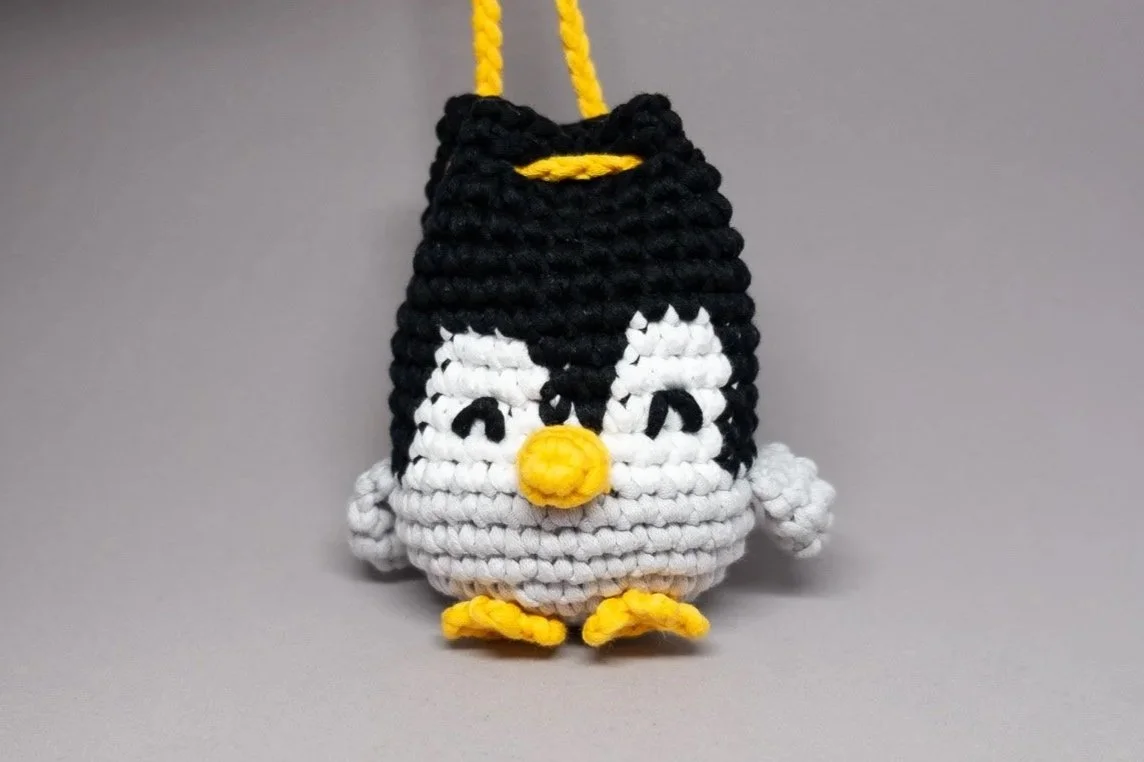
Try it out on Morgan the Penguin Chick, with detailed instructions included.
Finishing
Eyes
I suggest embroidering eyes, using safety eyes will leave the tips exposed inside the piece where they may get caught on things, or poke you when using the pouch. Cut the yarn after the first eye before going on to the second, leaving a long tail, so you can weave them in at the end.
Additional Pieces
Complete any pieces that should be attached as outlined in your pattern.
Tip: Leave longer starting and finishing tails than you may normally, so you have enough length to weave the tails in at the end. You may be very frustrated with yourself if you don’t!
Cinch the pouch shut and position additional pieces—opposite the side the drawstring is coming out—using the original pattern as guidance.
You may want to make small adjustments based on the way the pouch folds at the top, especially for ears.
Count down from the top of the piece, skipping the two additional rounds that were added.
When all the pieces are attached, flip the piece inside out. To reduce the risk of the yarn tails snagging on anything you might put in the pouch, weave all of the tails in.
If possible, weave non-body color pieces in behind the attached pieces, or larger pieces (like a belly) to reduce possible exposure on the front of the piece.

Give new life to your old beginner amigurumi patterns by turning simple shapes into cinch pouches with a drawstring—perfect for storing stitch markers or tiny treasures! This tutorial shows how to adapt your pattern. Ready to craft cute, useful pouches? Let’s go!